
mHelpDesk Tip of the Week

from Drew G., Senior Technical Support Specialist
![]()
Do you love being able to see where all your staff are throughout the day using our GPS tracking feature? If so, you aren’t alone! Keeping an eye on techs’ current locations can help make sure everyone is staying on track, arriving to appointments on time, or ensuring techs are effectively servicing their assigned regions.
Staff location assessment is beneficial. With mHelpDesk user profile pictures, you’ll have a way to make staff location assessment even easier.
Let’s learn more about user profile pictures in mHelpDesk. Each user in your account can upload a unique profile picture. Not only does this allow users to personalize their profiles, it also helps you keep track of those users on the map.

![]()
With no profile picture assigned to their account, users on the map shows as a default grey silhouette.

![]()
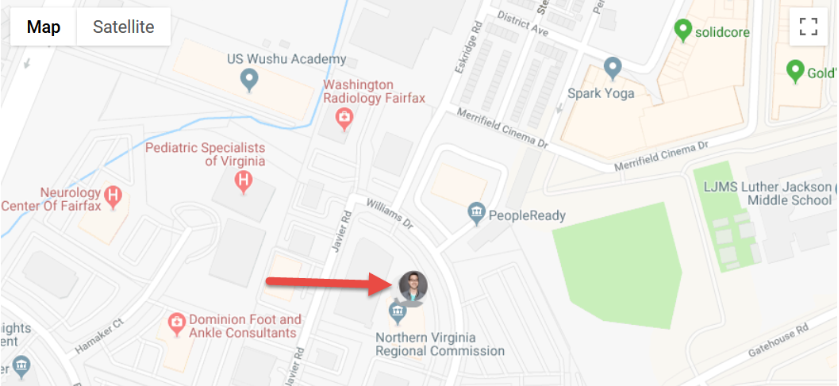
Once a profile picture is uploaded however, you’ll be able to easily spot them on the map with their uploaded picture! This saves you time and effort; no need to mouse over each user on the map to see who is who. You’ll be able to tell at a glance who’s where. Both admins and managers can upload a profile picture on behalf of any user, or each user can upload their own photo.
Don’t have mHelpDesk and want a quick tour of our GPS tracking? Schedule a demo >>
![]()
How to Start Using User Profile Pictures:
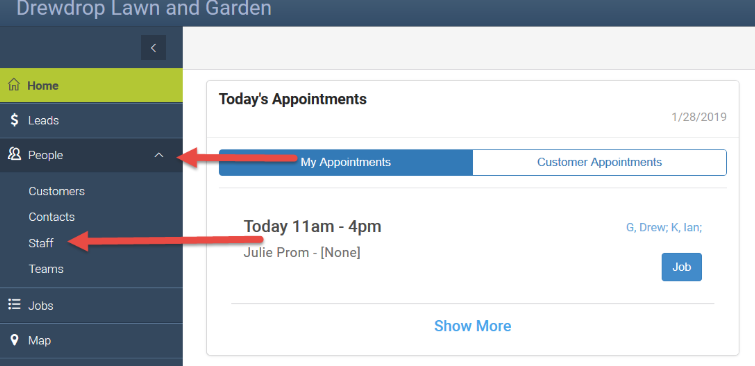
To upload a photo on behalf of a user, simply click on People, then Staff.
![]()
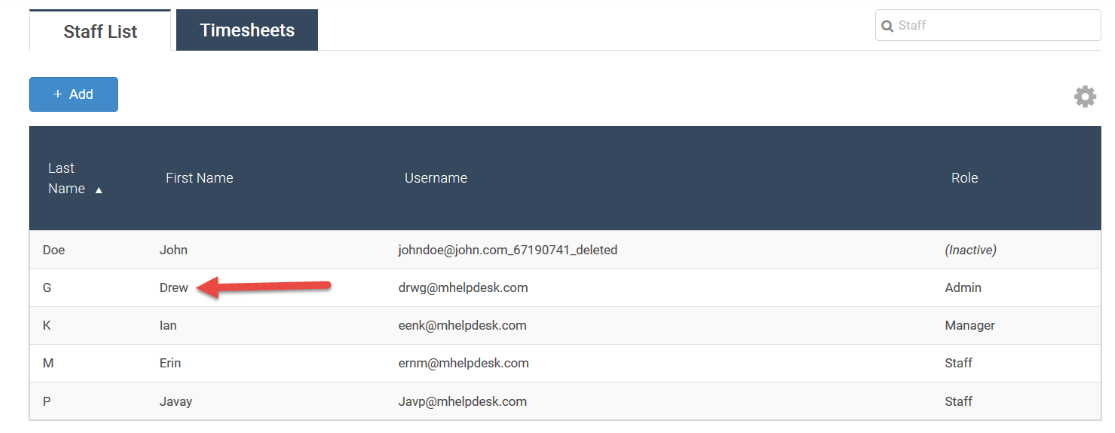
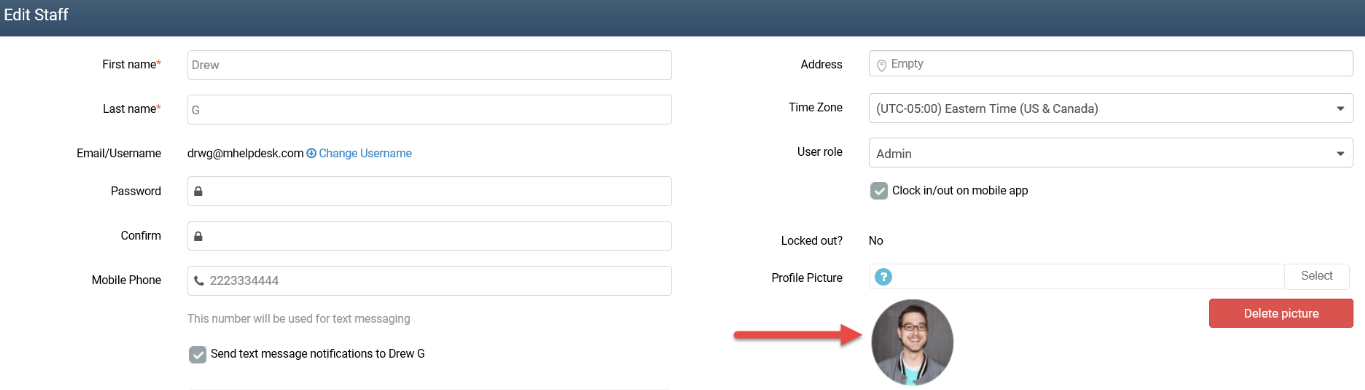
In the staff management screen, click on the user you’d like to upload the photo for.
![]()
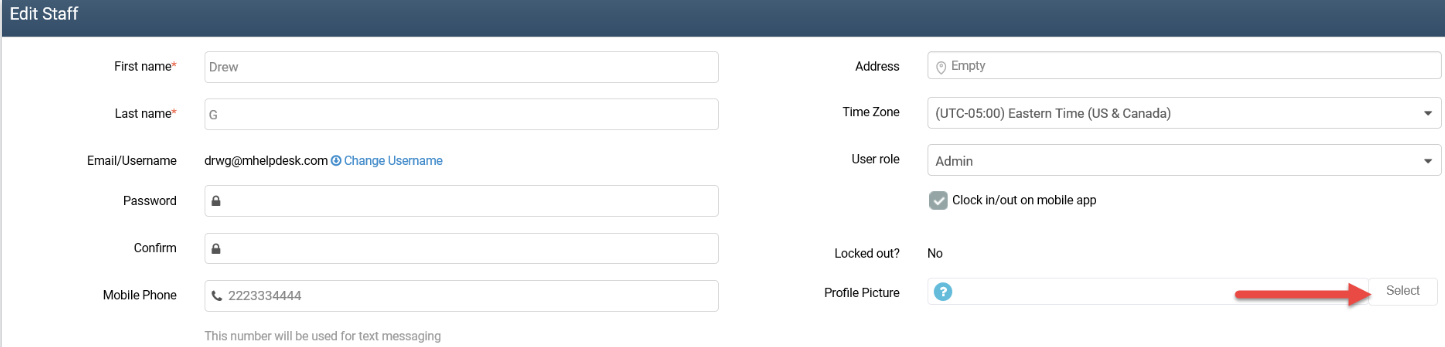
Once you’re in their profile, click on the Select button next to the Profile Picture field. This will open a window in which you’ll be able to browse and find the desired photo on your computer.
![]()
Once you’ve found the photo you’d like to use simply select it and click Open. They’re all set just like that!

![]()
You’ll see the user’s location will be marked on the map by the uploaded photo rather than a generic silhouette.
![]()
For a user to upload an image on their own, all they need to do is click their name in the upper-right corner of the web app, then click My Account.
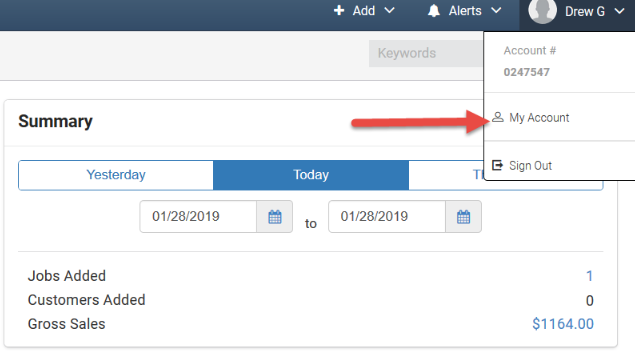
![]()
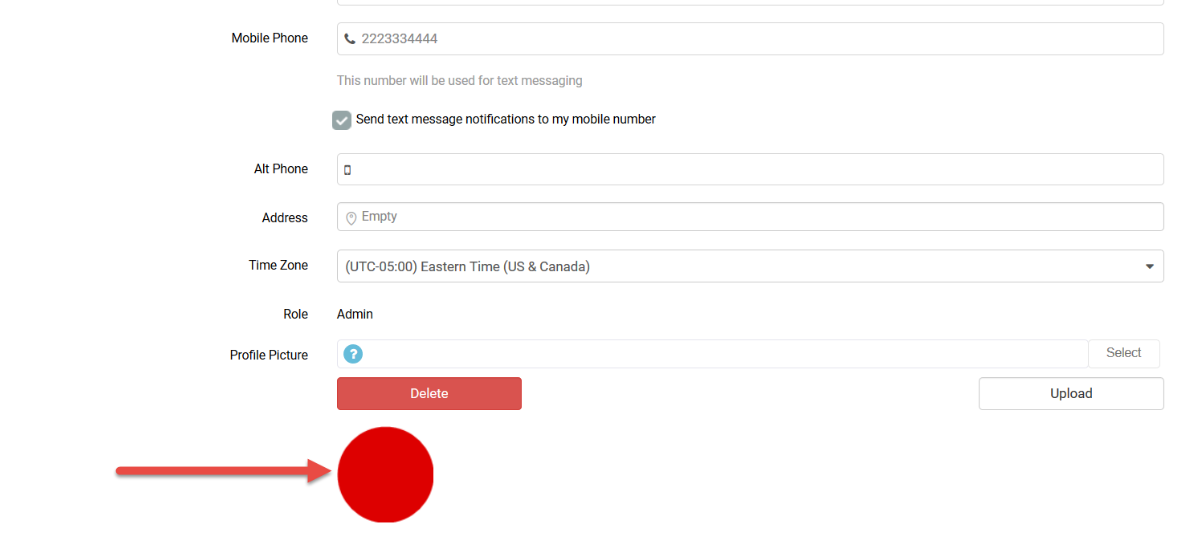
In the Account Info section of their profile, they can scroll down to find the Profile Picture field.
![]()
Then, they can simply upload their photo as described above. Quick and simple!
If a user doesn’t want their actual photo uploaded to the system, you can use any photo downloaded from the internet instead. You can even use a simple color coding system where each user is assigned a certain color, which will show up on their profile picture and on and can be set on your team’s calendar to help you quickly know their location or assignment.
![]()
Ready to set up User Profile Pictures? Login to mHelpDesk now >>
Don’t have mHelpDesk? Request a quick tour >>
![]()
We hope you liked this tip! Follow us on Facebook, Twitter or Instagram to learn when we post new tips to help you maximize your mHelpDesk account!
![]()
Reach out to our Account Support Team via phone
+1(888)558-6275 ext. 2 or chat (within our web or mobile app)
with any questions or concerns!
Last modified: January 29, 2019